Setting up your EL-USB-1/EL-USB-1-LCD to monitor your pharmacy fridge temperature
Setting up your EL-USB-1/EL-USB-1-LCD to monitor your pharmacy fridge temperature |
The Problem: | |
| You have purchased the EL-USB-1 / EL-USB-1-LCD and have downloaded the EasyLog software. However you are unsure of the best way to set it up to determine whether your pharmacy fridge is breaching temperatures. You want to take a sample every 30 minutes and be able to see if an alarm has been breached when you open the door. So, how do you go about doing this? | |
The Solution: | |
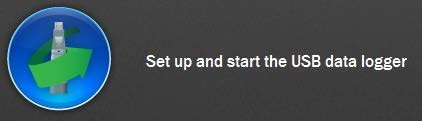
The EL-USB-1 / EL-USB-1-LCD both use the EasyLog software that is available for download from the manufacturer. The software can be found here and is suitable for use on Windows operating systems 7, 8 and 10. You will simply need to download the software in order to get yourself started. Once the software is downloaded connect your logger to a spare USB port and open the software. You will need to click on the ‘Set up and start the USB data logger’ button shown below: | |
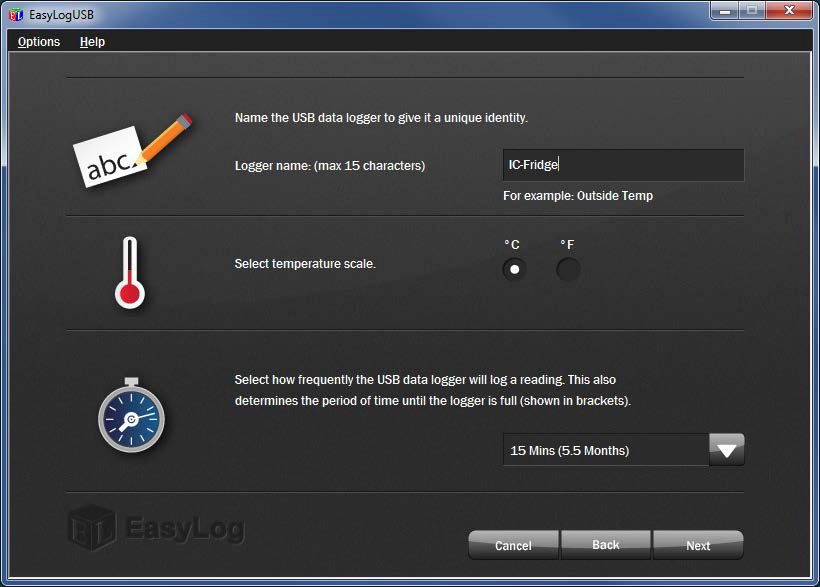
 This will lead you in to a walk through menu. The first step in this process is to name your logger, select your temperature scale along with setting your sampling interval, this is how often the logger will take a record of your temperature and store it to memory. The name of your logger can be anything of your choosing, whilst the scale will need to be set to °C. For the interval we recommend a 15 minute sampling rate as this will take a temperature reading every 15 minutes within your fridge and will help you to identify issues that may arise. There is an image of the setup that we recommend below: | |
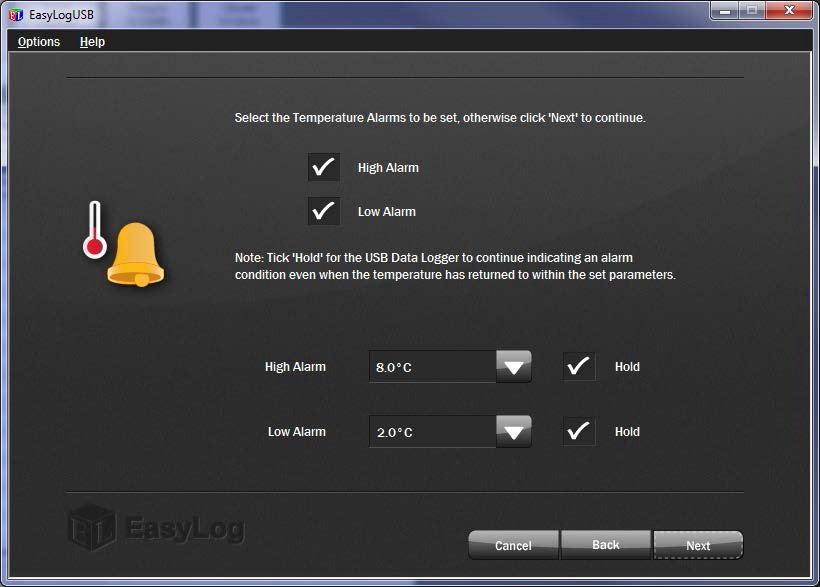
 The next step of the process is to setup your alarms to let you know if temperature conditions have been breached. We recommend setting the low temperature alarm to 2°C and the high alarm to 8°C as this is the range that vaccines are required to be stored at. If they fall outside these bounds vaccines have the potential to be damaged. We also advise setting the alarm to hold as this will cause the alarm to stay activated even if temperature conditions go back to normal conditions. This will allow you to establish whether temperatures have been breached when the logger is viewed without needing to download the data. This setup is shown below: | |
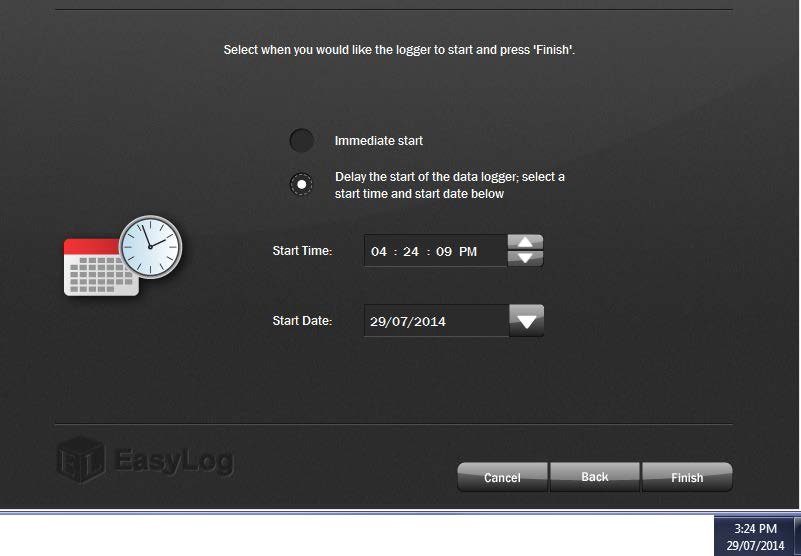
 The last step before you finalize the process and confirm your settings is to select whether you wish to do an ‘immediate start’ or a ‘delayed start’. We advise doing a delayed start when using these loggers for fridge monitoring as it allows them to stabilize to the fridge temperature prior to the logger starting. This also means that the alarms will not be activated as soon as the logger is unplugged. The recommended time frame for the delay is approximately 1 hour. This will allow you time to remove the logger from the computer and position it in the fridge along with giving it time to stabilize to the current fridge temperature. This is shown below: | |
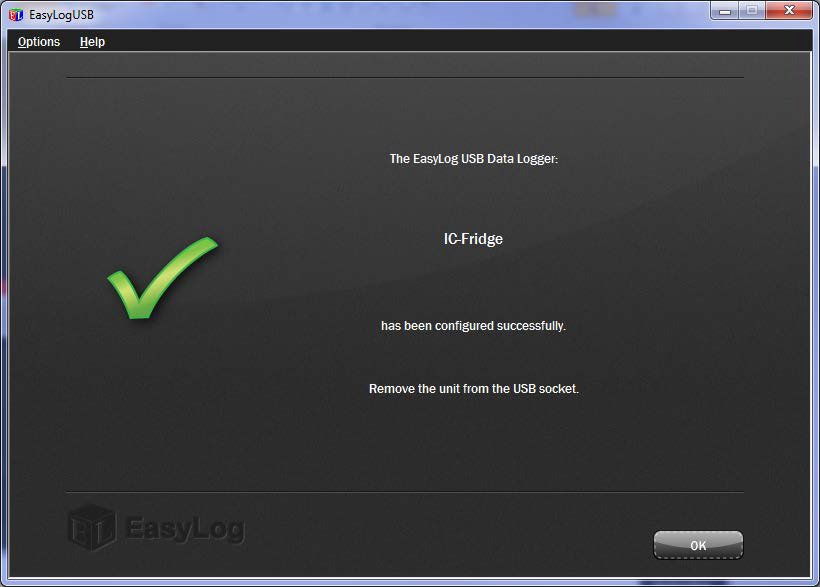
 The final step before removing the logger is to ‘Finish’ the setup, once you click on this the following will display: | |
 You can now remove the logger and place it in your fridge. The best position is near where vaccines or medicines are as this is where the temperature is most critical. We then advise to download the logger on a weekly basis or when an alarm is activated. Downloading your data and reviewing it are covered in the ‘Downloading your EL-USB-1/EL-USB-1-LCD to view your pharmacy fridge data’ application note which can be found here. |