How dangerous is ultraviolet light? We did the experiment.
How dangerous is ultraviolet light? We did the experiment. |
How dangerous is ultraviolet light? We did the experiment, find out here.With the summer months rolling in and the holiday season upon us many of you will be spending more time outside in the UV light which can be dangerous. For this month’s experiment we test the UV light outside the Instrument Choice HQ along with testing the effectiveness of ways we can protect ourselves from the light. Also, weather stations are our most popular product line at this time of year, why not, they make a great present. Our scientists have written an article on the best way to mount a weather station, how to mount it, where to put the components to get the best results for you. Read on below. This is our last newsletter for 2013. The team at Instrument Choice wish you and your family the best Christmas and New Year break, we hope it is filled with joy and fun. Please remember if you have any questions regarding tests you need to conduct or specific instrumentation please give us a call on 1300 737 871. Instrument Choice will be closed on the 24th of December, returning on the 6th of January 2014 ready for another fantastic year. See you in 2014!Tyson Grubb | |||
 How dangerous is ultraviolet light and how can you protect yourself?Ultraviolet (UV) light is a form of invisible light produced by the sun and some other sources such as arc welders and black lights. UV light has a wavelength range of 400 to 100nm and can be broken up into UVA (315-400nm), UVB (280-315nm) and UVC (100-280nm). All forms of UV light can cause damage to human skin and eyes. UVA and UVB can also damage vitamin A which can lead to further skin damage. In this experiment we are going to test how effective different forms of skin and eye protection are at minimising UVA and UVB exposure. Equipment used:
| |||
Method The UV340A UV meter was used to test the background UV levels coming from the sun and this was recorded. To take a reading the sensor was pointed towards the sun. The sensor from the UV340A was then placed underneath each of the methods of sun protection and the UV reading was recorded and a percentage reduction was calculated. 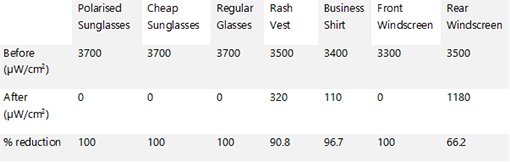 Table 1. This table shows the UV readings before each measurement was taken. As there were clouds about on the day of the test, the before readings did change slightly over time. | |||
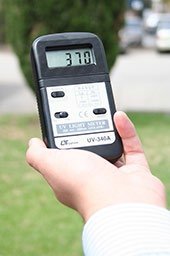 Figure 1. Background UV levels out the front of Instrument Choice (note that a 10x multiplier needs to be used when then meter is on the “high” setting). | |||
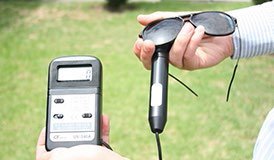 Figure 2. The UV sensor was covered by the lens of the cheap sunglasses and it blocked all of the UV. The polarised sunglasses and regular glasses were measured in a similar manner. | |||
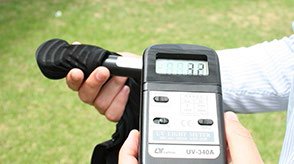 Figure 3. The UV sensor was covered with a sleeve from a rash vest. The business shirt was measured in a similar way. | |||
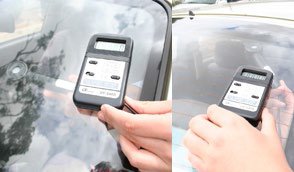 Figure 4. The UV sensor was placed underneath the glass of the front and rear windscreens of one of the staff members cars. The front windscreen is shown on the left and the rear windscreen is shown on the right. | |||
Discussion and Conclusion All of the items we tested reduced the UV levels so would be useful in reducing harmful UV exposure. Interestingly the cheap sunglasses and regular glasses were just as good as the polarised sunglasses in blocking UVA and UVB light. The business shirt and the rash vest both blocked a large percentage of UVA and UVB, however the business shirt did do slightly better. The front windscreen of the car was also effective at blocking all UVA and UVB radiation however the back windscreen only blocked 66.2% of the UVA and UVB radiation coming in meaning there is a good chance that you would get sunburnt if you are only protected by glass. It is also worth remembering that the meter we were using did not measure UVC which still has a capacity to cause skin damage. Have your say! What else do you think we could have tested? Write an email to Tim at [email protected] or give us a call on 1300 737 871. | |||
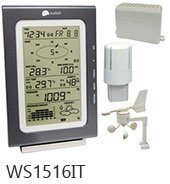
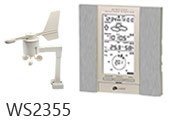
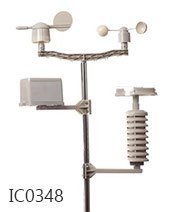
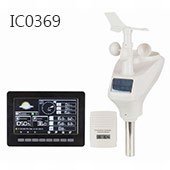
The best way to mount your weather station to yield the most accurate data for your location: | |||
| |||